Snapping into place the ins and outs of interlocking asphalt shingle installation
One of the biggest current trends among builders and homeowners is installing interlocking asphalt shingle roofing. Although it is true that most homeowners lack both the desire and the skill needed to install roofing, it never hurts to understand the process of shingling a roof with interlocking shingles prior to hiring a roofing professional to do the job. If you have ever watched professional roofers in action, it's likely they made the entire process look simple. In reality, however it is quite complex.
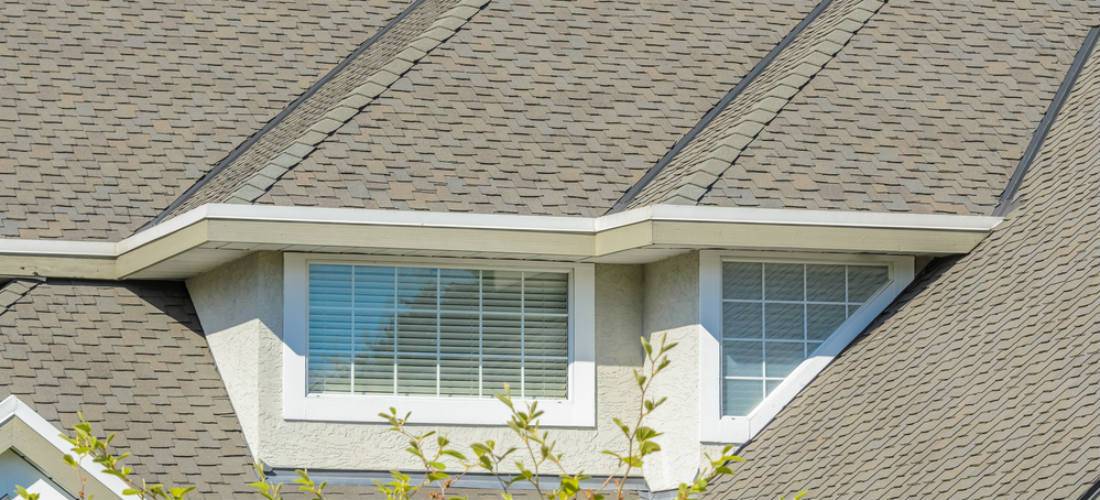
Interlocking shingles
The installation of interlocking asphalt shingles is similar to the installation of other shingles, with the key exception that these shingles interlock. Interlocking shingles are made with asphalt for lasting durability and performance. When selecting the right interlocking shingles for your roofing project, be sure to look at the warranty offered with the shingle purchase. Most brands, including popular brands like Malarkey or Owens Corning, offer a minimum of a 25-year or 30-year warranty. The warranty can be more or less, depending on the shingle grade that is chosen.
Your roofing professional will likely help you decide between top-selling brands when choosing interlocking shingles, including GAF and IKO, or may recommend brands that are environmentally friendly and energy efficient, such as CertainTeed, among others.
When compared to regular shingles, interlocking shingles are sometimes more attractive and invariably more durable. They are also wind, fire and impact resistant. Because they are resistant to the uplift of wind, they are good for homes in areas with high winds. You can find interlocking asphalt shingles in an array of colors and textures to meet your personal preference.
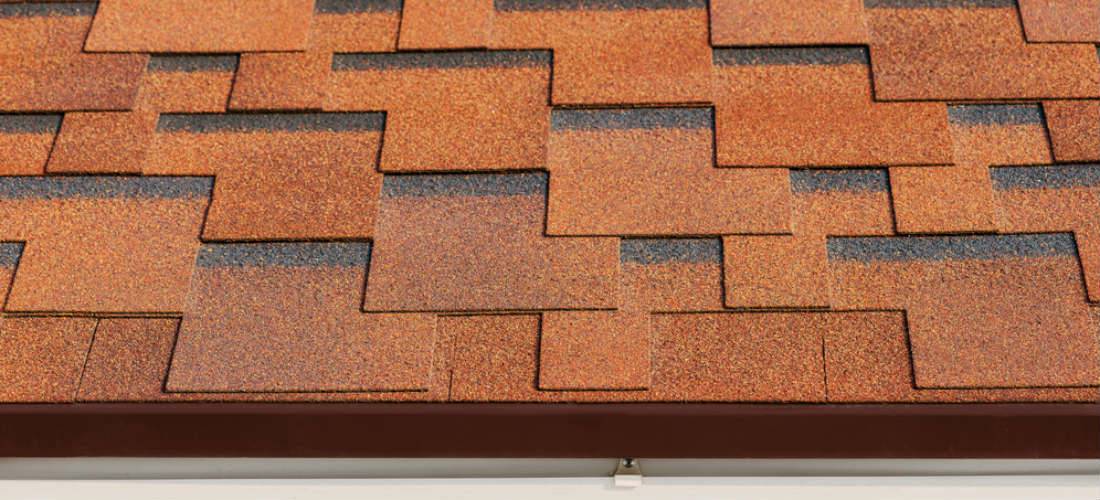
Interlocking shingles
The process of installing this type of shingle, as mentioned above, looks easier than it is. While installation may vary between contractors, the job should typically begin with a clean and flat work surface. This sometimes means tearing away all old roofing debris and materials.
Interlocking shingles are first nailed upside down along the roof's eaves, overhanging the edge by just a little. This is the starter row. The pieces of the shingle are butted together with two nails hammered into each section. The process is repeated down the entire eave before beginning a new row above the starter row.
This second row is started upside down above the first row in a manner that allows the shingles to interlock with one another. The pattern continues until the shingling process is complete. Generally, roofers like to work from one corner at the bottom and move upward.
The expense of materials alone is usually sufficient to keep most homeowners from trying to build their own roofs. Professional roofers are better adept at shingling the roof than someone who has read a quick do-it-yourself guide.
QualitySmith can help you find a competent roofer in your area who can provide you with roofing estimate and discuss roofing cost concerns with you. Generally speaking, there is really only one reason homeowners should install interlocking asphalt shingle roofing as a do-it-yourself, or DIY, project, and that is if the homeowner is a professional roofer by trade.


Write a Comment