Homeowners take pride in the appearance of their wood siding and will stop at nothing to see it shimmer.
If your wood siding hasn’t received periodic maintenance for a long time now, it could probably use a facelift.
A fresh coat of paint or maybe just a thorough cleaning for starters will do. If you want to give new life to your wood siding without professional help, this is a five-step guide on how to use the power of DIY elbow grease for a satisfying and beautiful result.
1. Pressure Washer-Free Cleaning
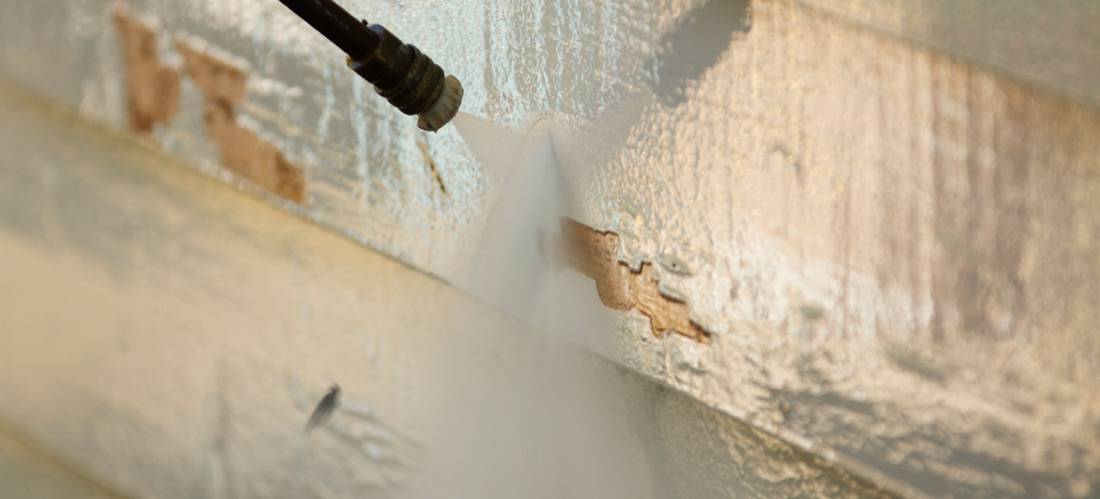
 A pressure washer is a cool tool but it can wreak havoc to your wood siding – if used improperly. The intense water stream ejected from its tip can penetrate cracks and crevices where water is not supposed to enter. Plus, it can cause potential damage to any lighter-colored spring wood which will cause your wood siding to look older than it actually is.
The safest way to clean wood siding thoroughly is with a stiff-bristle nylon scrub brush attached either to a drill or to a regular broom pole. It is time consuming but will only cost you one weekend at the most.
2. Better Safe than Sorry
Before you begin cleaning the siding in earnest, cover any electrical components such as light fixtures and power outlets mounted on the siding with plastic sheeting. Do the same for delicate foundation plantings, if you have any. Of course, don’t forget to shut all windows. Keep an eye out for mold so you can return and focus on those surfaces later in the cleaning process.
3. Inspecting Wood Siding for Damage
Wood siding is vulnerable to water infiltration in areas around corner moldings as well as windows and doors. Any cracked caulk will leave gaps either due to age or because it has already pulled away from adjacent surfaces. For maximum adhesion, schedule your caulk reapplication during a warm weekend, when the temperature is in excess of 65 degrees. Make sure you use a color matched to the original one used on your wood siding.
4. The Old but Trusted Spray and Scrub Technique
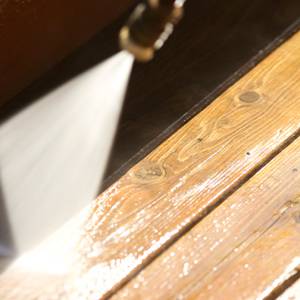
With a sudsy water and hose, spray against the dirty part and scrub away with all your might. Take on one 10-foot-square section at a time, working down from the roofline. Be careful when using a ladder to reach second-floor siding. Take your time as you attach grit and grime in all corners, nooks and crannies, ensuring that you have sprayed and scrubbed virtually all angles.
 5. Eliminating Mold and Mildew
During initial spraying, it is not impossible to encounter mold and mildew. They usually breed faster than bunnies because the actual stains and sealers you use to preserve your wood siding are delicious food for them. White vinegar is a pantry staple that most people swear can eliminate these pesky mold and mildew. A store-bought option is oxygen bleach, which should not be confused with chlorine bleach. Chlorine bleach can ruin your wood siding’s original color stain and will also kill your precious landscaping. Oxygen bleach, on the other hand, is wood color-safe and won’t harm plants and animals around your home.
Pour in your cleanser of choice to a bucket of warm water. Spray liberally wherever you need it and then let it sit for a period of time before you rinse it away. The siding should look brand new once dry. If possible, work when the siding is in the shade – for your own protection.
Congratulations!
Revel in the radiance of a job well done. You would notice a significant difference immediately after following this five-step guide for cleaning your wood siding without professional help. To help maintain its spiffy-clean appearance, make time to implement a similarly methodical cleaning on a yearly basis. Spending a little TLC on your wood siding ensures its lengthier service to you and your family.
Menards offers an excellent line of pressure washers to choose from..


Write a Comment