Painting can mean different things. For kindergarteners, it’s arts and crafts time. For artists, it’s a visual work that is created by applying paint on a canvas using brushstroke techniques. But for home builders and home owners, painting the house exterior is a tedious endeavour that can be quite difficult.
Then again, if you think about it, painting the outside of your home is so much easier than coming up with a masterpiece. And with the following tips, it can even be more of a breeze.
In the Right Season
Before you even start hitting store shelves in search of that perfect lacquer for your home, you should first take into consideration is the season when you’ll start painting. After all, you wouldn’t want the fresh paint that has taken you days to apply be washed by rain. Therefore, it’s best to paint during the summer days, as there is hardly any precipitation, and the paint will dry much faster.
Scratching the Surface
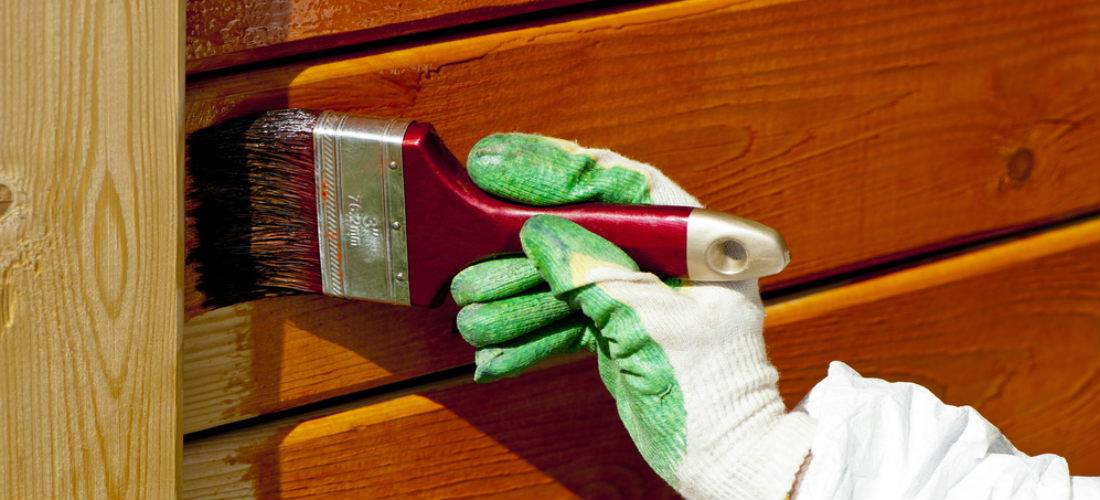
If you think that all you need to do is just get a brush or a roller, put paint on it, and then stroke away until you’re done, think again. Aside from the weather, you also have to keep in mind the texture of the surface you’ll be applying paint on, as paint doesn’t adhere very well on surfaces that are either dirty or rough. Therefore, before you get on painting, clean, dry, and if needed, sand the surface that you’ll coat. And if that surface happens to have old and flaking paint, you should scrape it off.
Down With the Rotten
Don’t be so quick in painting those wooden sidings and fences; make sure first that they don’t have any parts that have already rotted away, as paint won’t colour it well, not to mention that it’d be a waste to put new paint on something old.
If the wood is already decomposing, you can either replace the sidings or parts of the fence with new ones if the affected parts are considerably large. On the other hand, if the rotting parts are only quite small, you can use a wood hardener and an exterior filler product. And whichever you do, don’t forget to sand once you’re done.
With the Primer
Unless you have neither painted before or have heard people who do talk about it, then you probably don’t know that you apply primer on a surface first before you put paint on it. If you didn’t know that previously, then now you do. However, you should also know that there are now paints that include primers mixed with them. With them, you get to save money, time, and effort, as you no longer have to spend money on buying a separate primer and applying it.
Pooling Together
There are times when it’s going to take two or more cans of paint to completely paint a surface. In such a situation, it’s best to put all paints of the same colour in the same large canister to make sure the paint becomes evenly distributed.
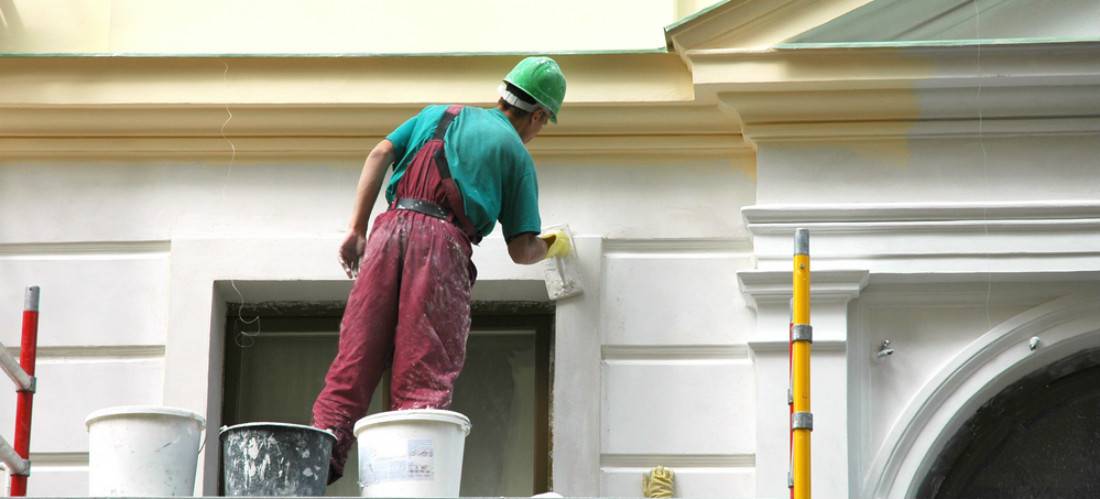
Going Downwards
It may seem strange that the point that discusses the actual painting is much shorter than the points about the preparations needed before painting, but there really isn’t much to it; all you need to keep in mind is to start from the top going down, as it’s easier to control your strokes when you’re working with—and not against—gravity.
Then there you have it! Just follow these steps and your house, whether it’s a part of it or its entirety. And once you’re done, since you were able to put fresh new paint right, your home is going to seem as if it has been given a new life.


Write a Comment