A step-by-step guide for installing a rubber flat roof
Rubber roofing is designed primarily for use on flat roofs that require increased moisture protection against rain and snow due to an inability to drain naturally. Those looking to install a rubber roof may do so on a DIY basis using materials available at many home improvement or hardware stores. However, a professional roofer is still recommended in order to meet any roofing warranty requirements and to ensure that the residential roofing meets local building standards as well.
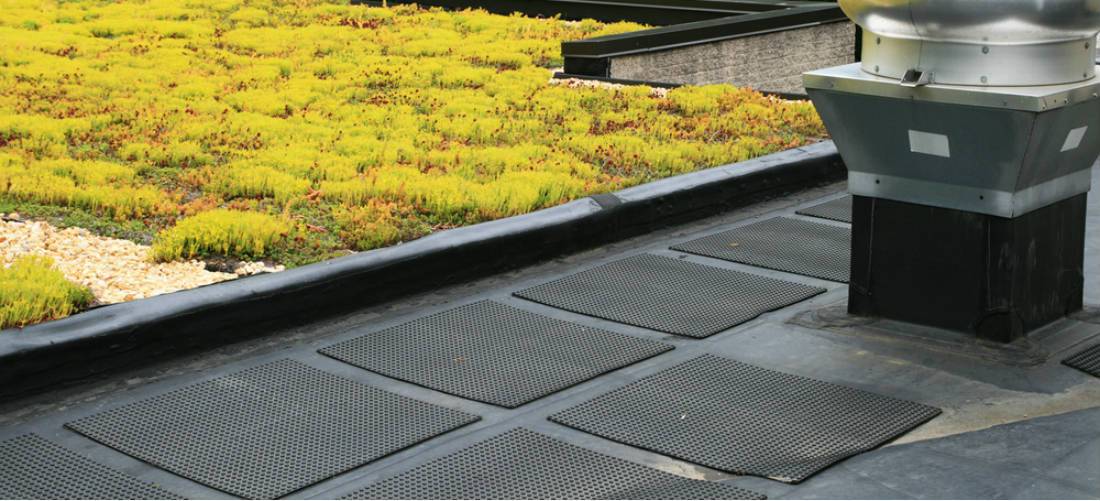
Install rubber roof
Before you can install rubber roofing, the roof deck must be prepared first. Preparation is a quick and easy process, though, requiring you to sweep away any debris and then washing the roof with a detergent solution. After a quick rinse with clean water and allowing the roof to dry, you can then proceed with the installation. Go over the roof one last time before laying out your rubber sheeting to check for loose surfaces that need to be affixed into place to prevent any tearing of the rubber, which may lead to future roof repair.
Step 1
Unfold the large pallets of EPDM rubber roofing over the surface of the roof. Make sure the edges of the rubber overhang the edges of the roof and run slightly up the surfaces of any vertical structures such as chimneys. You'll also need to overlap pieces of rubber from adjoining pallets by about three inches so that you make a continuous rubber surface. Wait a half-hour for the rubber to adjust to the climate before you cut the material to fit the particular shape of your roof with a utility knife.
Fold each piece of flat roofing in half to reveal the roof beneath, and then cover both the surface of the roof and the rear of the rubber with the rubber adhesive without covering any of the overlapping sections. Allow the adhesive to dry slightly, unfold the rubber back onto the roof and then push out any air bubbles with a push broom by going over the entire surface.
Step 2
Do the same adhesive application process to the other half of the roofing pieces. Fold back the overlapping portions, and then cover the overlapping sections with seam primer. Let the primer dry, and then place seam tape onto the bottom layer. Remove the protective paper from the tape, and press the top overlapping piece in place, gluing them together. Roll over the two pieces with a seam roller to ensure that they're tightly bound.
Step 3
Finish up the installation with a bead of caulking around the edges of the rubber where it meets any other surface, such as a wall or chimney. For the walls, you'll need to install a termination bar in place, which will prevent water from flowing under the rubber and onto the structure beneath. You'll also need to glue the overhanging edges of the rubber to the roof edges, caulking the edges of rubber as well to create a waterproof barrier.
While a homeowner can install EPDM roofing on a DIY basis, a professional roofer can provide an exact roofing estimate that includes the roofing prices for both labor and materials. With the actual roofing cost in hand, you may decide that it's best to go with a professional to install a rubber roof so that it's done quickly and correctly without any wastage of materials. A professional may be found among the listings available at QualitySmith.


Write a Comment